Log In and Explore Collision Clarity
Get oriented with Collision Clarity — the platform your team uses to document collision repairs, build repair plans, and share them with insurers. This guide walks you through your first login and a quick tour of the interface.
Log in for the first time
-
Open the invite email from Collision Clarity and click the link to set your password.
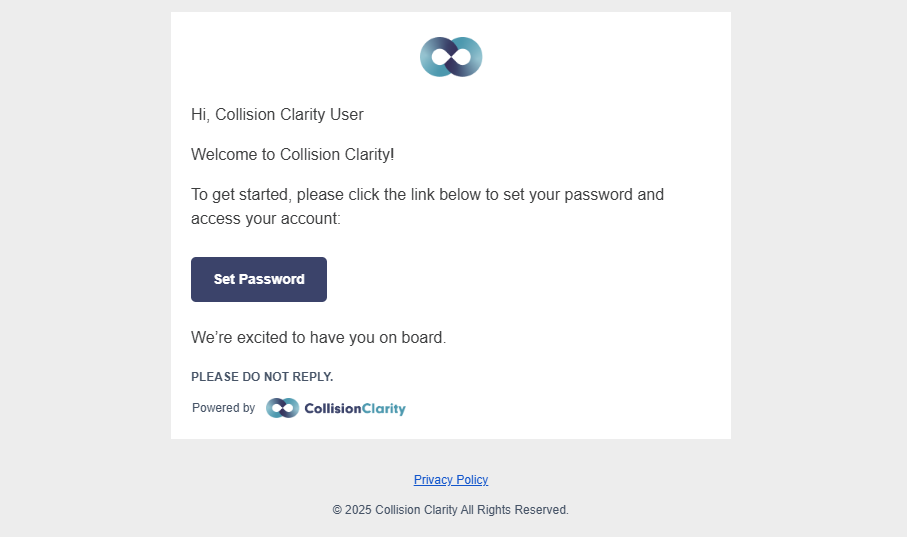
- Create a secure password and click Set Password. You'll be redirected to the login page.
-
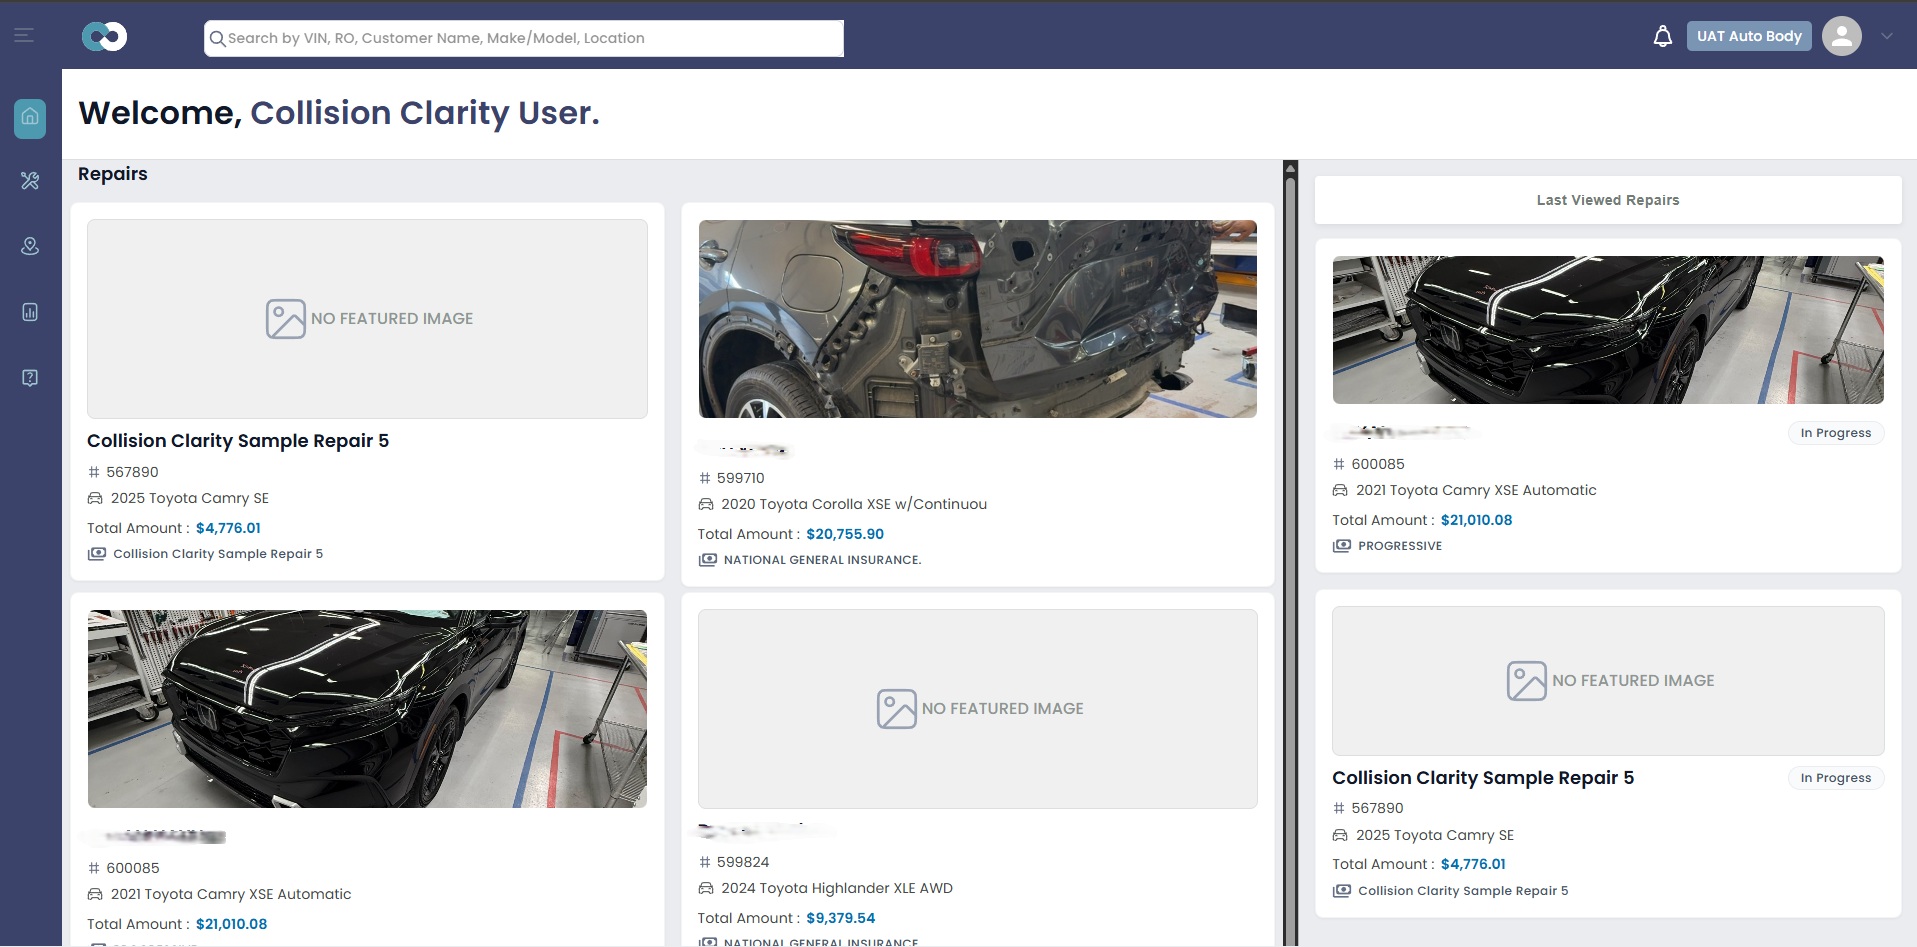
Enter your email and password, then click Log In. You'll land on the Home dashboard.


Tour the interface
-
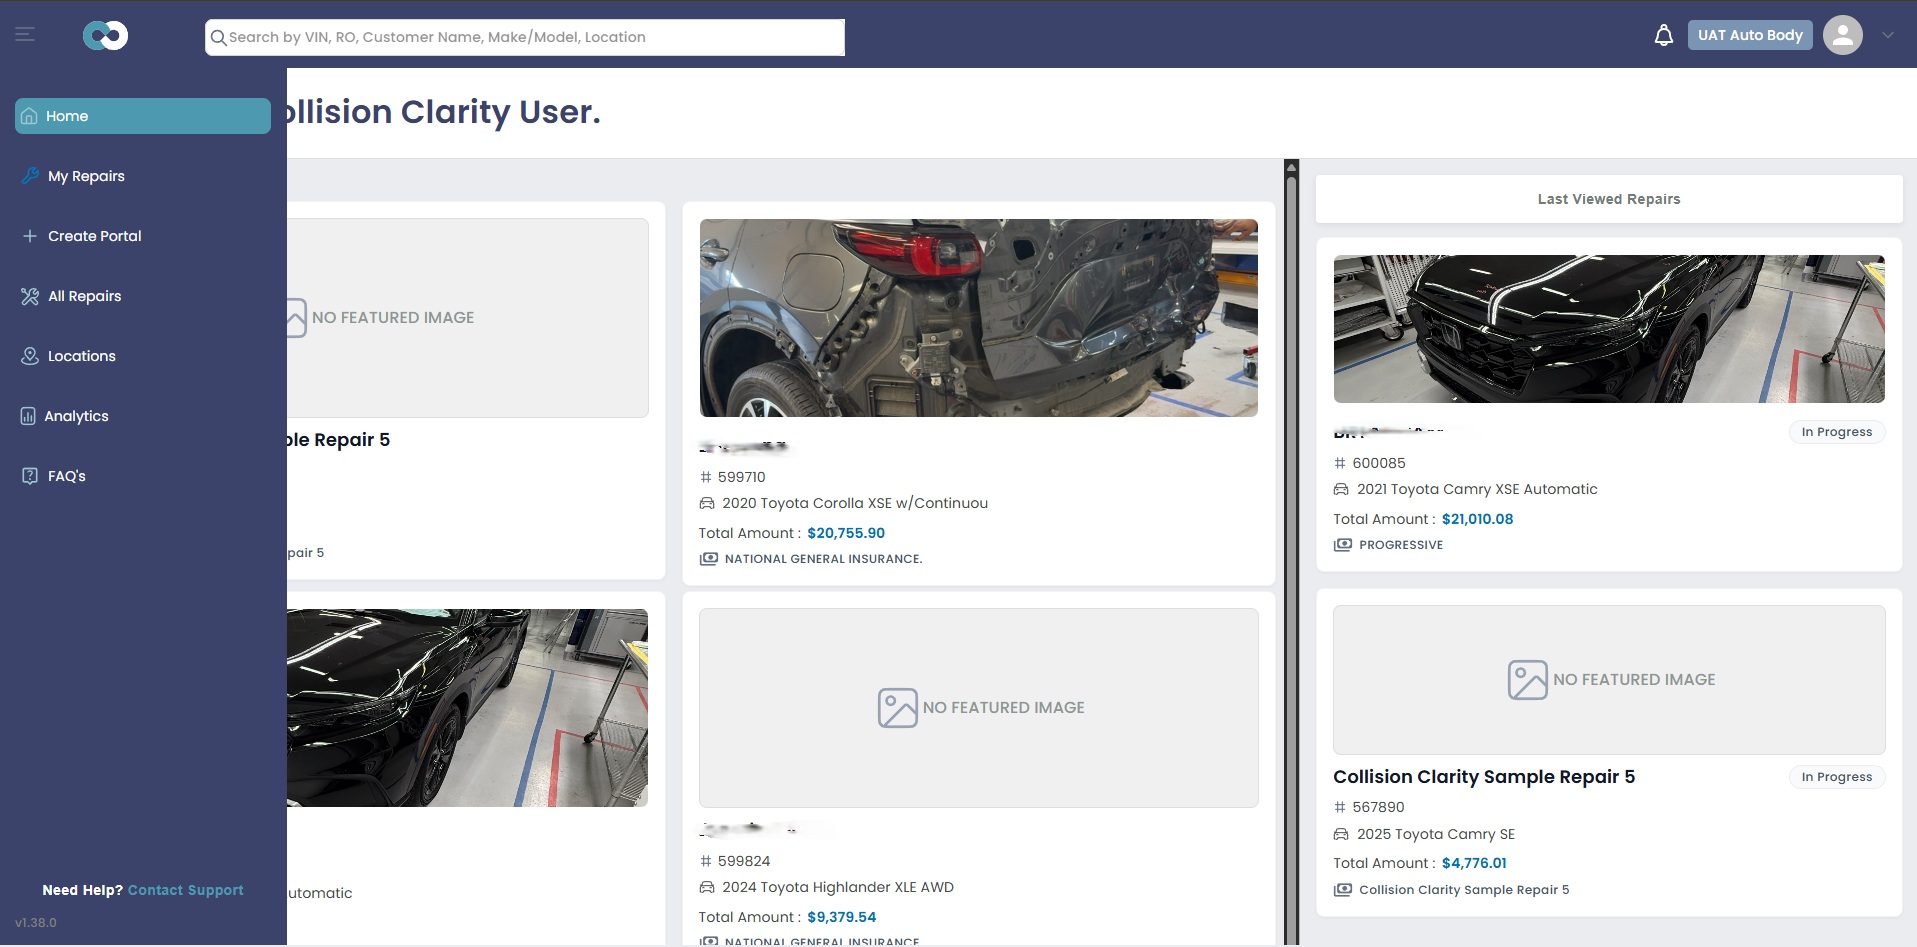
Sidebar navigation — On the left side, you'll find links to every major section: Home, My Repairs, Create Portal, All Repairs, Locations, Analytics, and FAQ's. Click the hamburger menu icon to expand or collapse the sidebar.
- Global search bar — At the top of every page, search for any repair by VIN, RO number, customer name, make/model, or location.
- Notifications — Click the bell icon (top right) to see mentions from team comments and new inbox responses.
- Organization name — Your organization name appears in the top-right corner next to your profile icon.

Key concepts to know:
- Portal — The intake page where new repairs are imported from your estimating system (e.g., CCC) and created in Collision Clarity.
- Repair — A vehicle repair case containing vehicle details, owner info, claim data, documentation, and the repair plan.
- Damage Proof — The photos, videos, and documents you upload to prove and document the damage.
- Repair Plan — The formal document with line items and linked documentation that gets sent to insurers.
- Status — Every repair moves through workflow stages: New → In Progress → Needs Review → Ready to Send → Portal Sent → Archived.
What's next?
Now that you're logged in and oriented, learn how to navigate the dashboard to find repairs, track activity, and manage notifications.